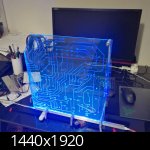
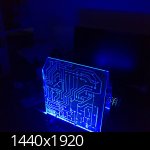
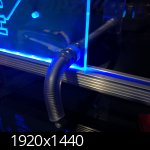
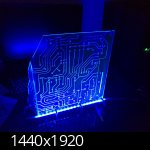
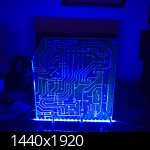
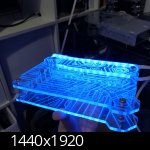
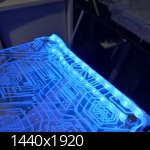
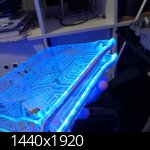
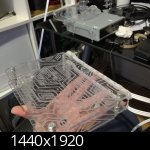
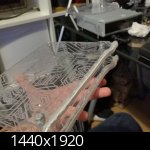
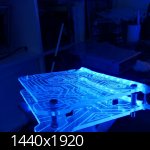
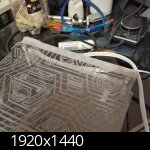
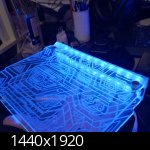
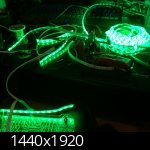
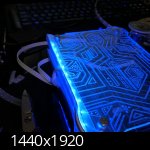
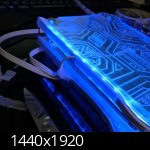
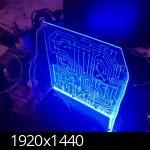
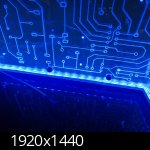
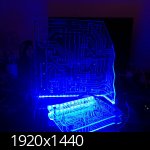
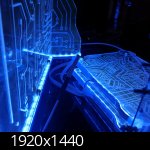
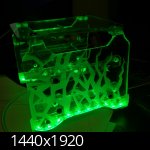
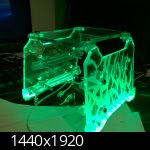
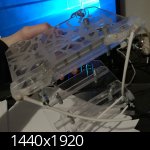
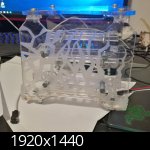
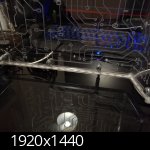
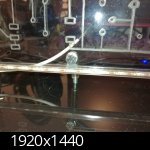
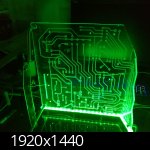
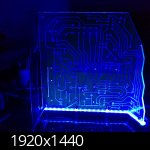
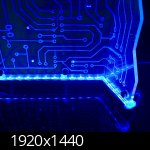
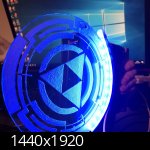
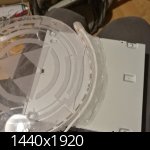
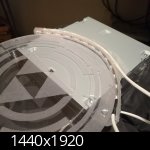
And now, finally this is the main upgrade I have done to the case: a completely redesigned lighting system! 😀
As I said before, to obtain the best lighting of the engraved panels, I had to shot a concentrated beam of light directly in the edge of the panels, so I had to attach the led strips directly on the bottom edge of each engraved panel.
The problem was: how to fix them in that position? I had to try some different solutions before finding the right one.
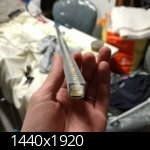
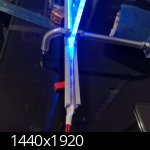
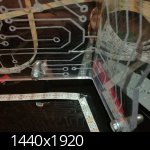
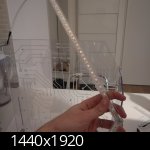
First I have tried this aluminium profile, but I thought it appeared too bulky, and it reduced the lighting of the engravings:
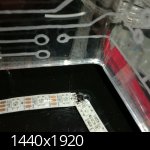
Then I tried to glue the led strips directly on the panels with hot glue, but I didn’t like at all the irregular surface of the hot glue:
another try: covering the hot glue with some sanded polycarbonate bars… it was better than the previous tries, but I didn’t like the result anyway:
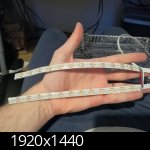
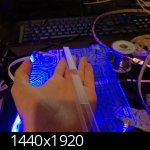
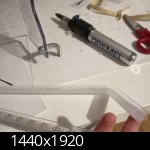
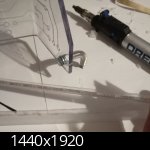
meanwhile I soldered wires and connectors on each led strip end (all the strip pieces are connected in series, so each piece must have an entering cable and an exiting cable):
I soldered an angled led strip for the motherboard support:
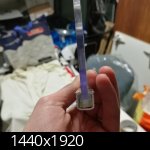
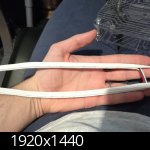
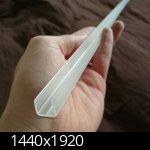
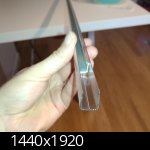
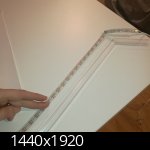
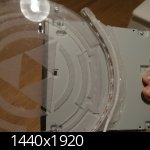
another try to keep in place the led strips: I used a transparent polycarbonate U profile, and I sanded it:
The result was good, but only after finishing this try I thought that it could be better if I use it trasparent, without sanding it:
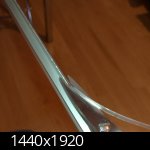
I have done this last try with the trasparent not-sanded U profile, and finally I have found the best solution! 😀
Then I remade from scratch the U profile under the motherboard structure, because the first one that I made was too high and I ruined it with the hot glue:
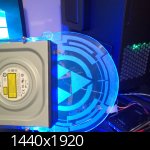
And finally I have glued a led strip behind the optical drive structure, to enlight the “Tron disc” (the optical drive button):
